MediaWiki Syntax Guide
This page summarizes the basic information you need to know to be able to structure and style a page on MediaWiki. MediaWiki syntax is easy to use with just a little practice!
목차
Introduction
What is syntax? In the case of MediaWiki, it is basically a language of formatting shortcuts. By using certain symbols easily typed from your keyboard, you can change the way the page looks, add links, and organize the page content. No need to learn any complicated coding!
Syntax may also be called markup or wikitext.
Later you may want to also to use HTML, but at first, it will not be neccessary.
Making and Account/Login
To make an account, click the 계정 만들기 button at the top. Select a username and password. We cannot get your password back! You must remember it yourself! Please write it down!! Then solve the simple math equation. This math equation is meant to make sure you are a real human being!
Preferences
If you prefer to change the language of the wiki, you can go to preferences/설정 to change which language the page is shown in. You can also change other settings there as well, if you so choose.
Making a New Page
There are two ways to make a new page.
- Search for the page you want in the search bar, and then select the red link to make the page.
- Make an [MediaWiki Syntax Guide#Links|internal link] in a page, and then click that link to be taken to a creation page.
Read, Edit, and History
On the top of each page, there are three tabs next to the search bar.
- Read: This is the actual wiki page people will read
- Edit: This is the page where you can edit the content of the wiki page.
- View history: This is a page where you can see which users made which edits and when they made those edits.
Next to each section header, you will also see a small "Edit" link. This link can be used when you need to edit only a single section of the page. It is highly recommended to always edit via these section edit links for two reasons:
- First, it allows for two people to simultaneously edit different sections of a single wiki page. If the entire page is being edited, only one person can edit it at a time.
- Second, it minimizes the chances for serious editing mistakes which may delete large parts of the page. Almost always, the previous version of the page can be recovered, but it is a hassle that is best to be avoided.
Sections / Table of Contents
You can create sections and sub-sections on a wiki page. These will automatically compile a table of contents that will appear at the top of the page.
To make a section use equal symbols around the section title, like this:
=Section Header=
To make a sub-section below that, keep adding. more equal signs, like this:
==Section Header==
===Section Header===
====Section Header====
Lists
- Further reading: MediaWiki Help:Lists
There are two main ways to make lists: bullet points and numbered lists.
Bullets
To make a bullet point list, use the star symbol * and write the content of the bullet point after the star.
*Bullet
It will appear like this:
- Bullet
You can make multiple levels of the bullet points, as in the example below:
*Point 1
*Point 2
**Point 2.1
**Point 2.2
***Point 2.2.1
**Point 2.3
*Point 3
Which appears as:
- Point 1
- Point 2
- Point 2.1
- Point 2.2
- Point 2.2.1
- Point 2.3
- Point 3
Numbers
A number list is like a bullet point list, but uses the hashtag symbol # instead of the star symbol.
For example, the following mar:
#Types of Computers
##Laptops
###MacBook Pro
### HP Spectre
##Desktops
##Servers
Is rendered as:
- Types of Computers
- Laptops
- MacBook Pro
- HP Spectre
- Desktops
- Servers
- Laptops
Bold and Italic
Bold and italic are applied using apostrophes. Two apostrophes around some content makes it italic. Three apostrophes around some content makes it bold. Five apostrophes (two plus three) around some content makes it bold-italic.
''Italic''
'''Bold'''
'''''Bold-italic'''''
Links
- Further reading: MediaWiki Help:Links
There are two kinds of links on a wiki page. External links redirect to another website. Internal links link to a page within the same wiki (in our case, the ~classics/wiki). Both types of links use the square bracket [] symbols, but there are some differences.
External
External links use single brackets and need a URL, as is shown.
[http://aks.ac.kr]
This results in a tiny, clickable link symbol:
However, if we want a word or multiple words to form a link, we should leave a space after the URL and the write the desired words as is shown:
This link redirects to the [http://aks.ac.kr Academy of Korean Studies homepage].
Which renders as:
This link redirects to the Academy of Korean Studies homepage.
Internal
Internal links use double brackets. Place the name of the wiki page between the brackets.
[[Name of Page Goes Here]]
If the link appears as red, it means that no one has yet created a page with that name. If you click it, you will be redirected to a "Create page" page.
Uncreated page in red.
If it is blue, then the page exists.
대문 in blue.
What if we want the link to read something different from the page name? After the page name, use a vertical bar ( | ) and then write the words you want to appear after that bar, as shown below.
[[대문|Main page of the Korean Classics and Global Communications Department Wiki]]
This will link to the page named "대문" but appear as:
Main page of the Korean Classics and Global Communications Department Wiki
Upload
- Further reading: MediaWiki Help:Upload
To upload a file, click the Upload file/파일 올리기 link in the left navigation bas on the wiki (below the logo). There, you can upload the source file from your computer. The following file formats are permitted for use:
- png, gif, jpg, jpeg, pdf, xlsx, xls, hwp, zip
Once the source file has been selected, you can rename the file and add a description.
- Please remember the file name! If you forget, you can use the 특수:파일 page to try to find your file.
- Also, MediaWiki distinguishes between upper and lowercase letters, so .JPG and .jpg will be understood differently.
Then, click the upload file button, and your file will be uploaded to the wiki and you will be able to link to it.
Multimedia
- Further reading: Wikipedia Help:Pictures
- Further reading: MediaWiki Help:Images
Photos (and other media files for that matter) are linked to using the same double square brackets as interal links. However, before the file name, you must include "File:" or "파일:" for it to be recognized as a media file. You can add other details, such as the pixel size, location on the page, and caption using the vertical bar, as shown in the examples below. If you just want to link to the file without showing it, you can use "Media" or "미디어" instead of "File" or "파일."
- [[파일:File.jpg]] to use the full version of the file
- [[파일:File.jpg|200px|thumb|left|alt text]] to use a 200 pixel wide rendition in a box in the left margin with "alt text" as description
- [[미디어:File.jpg]] for directly linking to the file without displaying the file
Examples

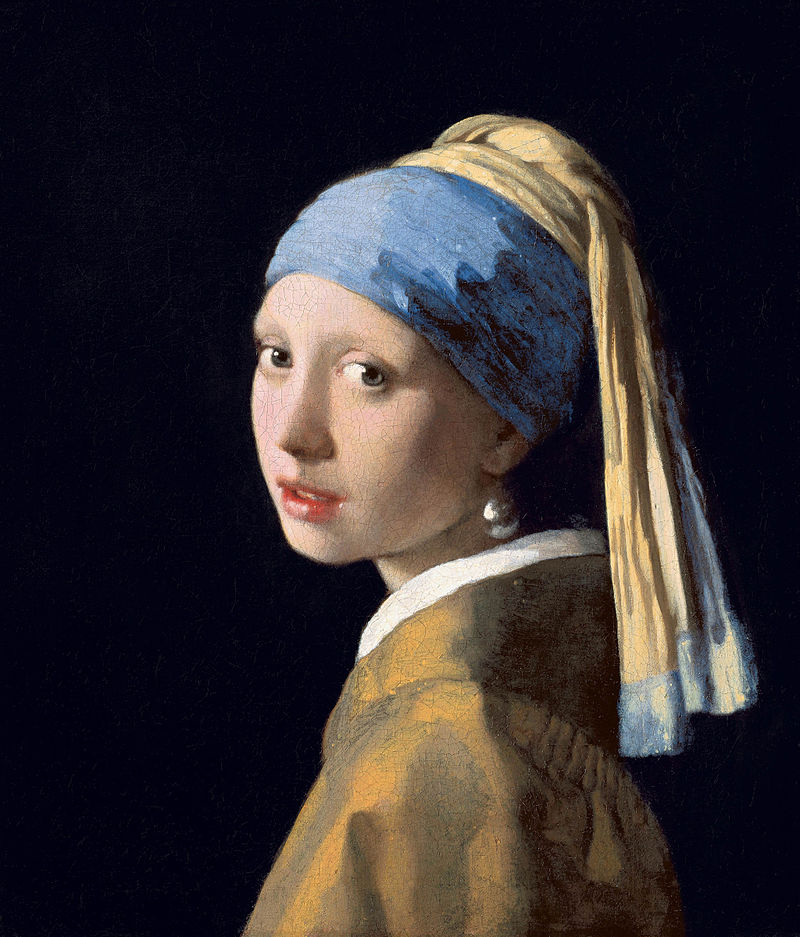
Vermeer's "Meisje met de Parel"
*[[파일:Vermeer_Meisje_met_de_parel.jpg|100px|thumb|left|Vermeer's paining as a thumbnail on the left of the page]]
*[[파일:Vermeer_Meisje_met_de_parel.jpg|100px|thumb|Vermeer's paining as a thumbnail on the right of the page (default)]]
*[[파일:Vermeer_Meisje_met_de_parel.jpg|200px|center]] The paining in the center
*[[미디어:Vermeer_Meisje_met_de_parel.jpg|Vermeer's "Meisje met de Parel"]] An internal link to the painting file itself
Galleries
- Further reading: MediaWiki Help:Gallery
To make a gallery, you can use the gallery tag <gallery> </gallery>. Inside the first gallery tag, you can add attributes such as mode, photo height, caption, etc. Between the opening and closing gallery tags, each photo you want to put inside the gallery should be listed on its own line beginning with "File:". Following the photo link, a vertical bar ( | ) can be added, followed by other content, such as a caption.
<gallery mode=packed heights=220px caption="Favorite Paintings">
File:신윤복_전모를_쓴_여인.jpg|신윤복 "전모를 쓴 여인"
File:Vermeer_Meisje_met_de_parel.jpg|Vermeer "Meisje met de Parel"
</gallery>
Which will appear as:
- Gallery Sample
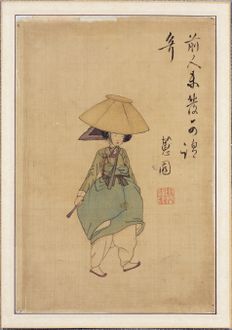
신윤복 "전모를 쓴 여인"

Vermeer "Meisje met de Parel"

Table
- Further reading: MediaWiki Help:Tables
Tables can also be easily made in wiki. The table starts and ends with a bracket and a vertical bar: {| |}
On the first line, immediately following the bracket and vertical bar, the wikitable class (which tells the software that this is a table) and other style features are listed, with a semi-colon at the end of the list. It should look something like this:
{|class="wikitable" style="text-align:center;
The next line starts with an exclamation mark and denotes the heading row of the table. Each box in the row should be separated by two vertical bars.
! 주어 || 서술어 || 목적어
On the next line is a vertical bar with dash, which denotes the line between rows: |-
Next, on the following line, to create the first regular row of the table, start with a vertical bar, and each box is separated by two vertical bars:
| 연소답청 || -의 일부이다 || 신윤복필 풍속도 화첩 (申潤福筆 風俗圖 畵帖)
Then, repeat the pattern until all the rows have been filled. And on the last line finish with the bar and curled bracket. In total, the table should looks something like the following:
{|class="wikitable" style="text-align:center;
! 주어 || 서술어 || 목적어
|-
| 연소답청 || -의 일부이다 || 신윤복필 풍속도 화첩 (申潤福筆 風俗圖 畵帖)
|-
| 신윤복필 풍속도 화첩 (申潤福筆 風俗圖 畵帖) || -에 소장되어있다 || 간송미술관
|-
| 신윤복필 풍속도 화첩 (申潤福筆 風俗圖 畵帖) || -에 포함된다 || 국보
|}
Template
A template (called 틀 in Korean) is a pre-made form to display information using variables. This means it can be reused many times for different purposes in a more efficient way. For now, it is just important to know how to fill in a template.
The most common template is the infobox, found on the top right-hand side of many pages.
You can find the template on other pages and copy-paste from there, or search for the template via the name "Template:Template Name Here" and there will usually be a set of text you can copy-paste onto the page you are editing.
{{수강생정보
|이름=
|한자=
|영문=
|소속=
|전공=
|사진=
|위키아이디=
|메일=
}}
As shown in the example above, the template starts and ends with double brackets. On the first line is the name of the template. From the next line, each line starts with a vertical bar, followed by the name of a variable, and an equals sign. Following the equals sign, you can enter the information you want to appear in that part of the template, as shown below. You can also leave them blank if you need. The last line ends with double-brackets, closing the template.
{{수강생정보
|이름= 메리
|한자=
|영문= Mary
|소속= AKS
|전공= History
|사진= Mary.jpg
|위키아이디= mary
|메일= mary@aks.ac.kr
}}
Categories
One of the most useful and important features of a wiki is the categories feature. Each page can be put into categories, and this allows them to be found in category pages with similar pages.
To add a page to a category, simply add the following to the bottom of the page:
[[Catetory:Category Name]]
OR
[[분류:분류 이름]]
Each page can have multiple categories.
However, it is important to have a clear category organization system so that overlapping/duplicate categories are not made.
Citations and References
- Further reading: Wikipedia Help:Referencing for Beginners
It is extremely important to include clear citations - where the information came from, i.e. information or media sources. To add a footnote, the reference tag can be used:
<ref>Put the citation here!</ref>
Such a reference will appear on the page like this.[1]
Then, at the bottom of the page, if you add the following tag, all the references on the page will appear listed in order as footnotes automatically:
<references/>
You should be able to see the reference from the example above below, as I used the references tag below:
- ↑ Sample references are the best!
Further Reading
- Wiki Syntax PPT for Hanmun Workshop 2016 (Kang, Hae-won and Lyndsey Twining) / 위키문서 제작 방법 (김현)
- Wikipedia Help:Cheatsheet / 위키문법 요약 (한국어)
- Wikipedia Help:Wikitext / 위키 문법(한국어)
- MediaWiki Help Category
- 검색어 : 미디어위키/MediaWiki + OO (예: 미디어위키 표 만들기, 미디어위키 링크, 미디어위키 사진 올리기)